For my next painting in “tracing class”, I’ve selected a photo from a book on villages and town in the Northwest. This one of a barn was taken in Joseph, OR, which is in the northeastern part of the state. My thought was it might be good for me to have a building up close and personal to work on. Before i could begin, though, teacher said not a good idea for barn (see reference photo, below) to be facing out of the picture. Since she wants us tracing the general outlines (and then some!) and not drawing freehand, i wondered how i was supposed to turn the barn around. Turns out it’s pretty simple, once you think of it (which i didn’t — had to be told!). So — traced the whole picture onto acetate, leaving the barn out. Then, on a separate sheet of the plastic, i traced the barn. Then, when i transferred the tracings to the canvas, i just turned the “barn” tracing over, and voila! — barn faces in the right direction. Of course this means the lighting and shading will also be different. I’ve reproduced the tracing below. You may not be able to see it well. Apologies. Stay tuned for when i begin painting next week. Oh — forgot to mention that teacher also suggested i do the painting in landscape, rather than portrait mode. (Canvas is 9″ x 12″ — so as usual, another small one for this class, as per instructions.)
Month: April 2017
Back to the drawing board, er, i mean canvas
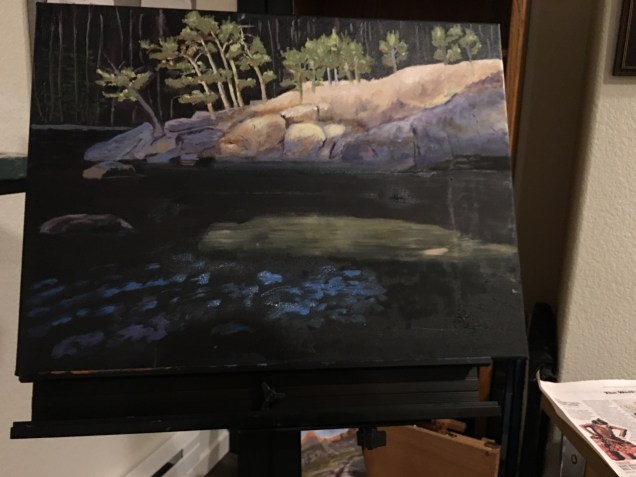
With my “black canvas” painting, just in the past week, I’ve had 3 experiments with no successes. That’s the breaks! I didn’t take photos of the failed experiments, unfortunately, so you can’t see what I’m referring to — you’ll just have to take my word for it! The upshot is that when i went to class last week and showed Ed (teacher) my efforts, he agreed with me that the wisest course of action would be to paint over the whole upper part of the water area with black — again! So, that’s where i am with the water.
Meanwhile, with the hillside/boulders, etc. I’ve still got plenty to do to get the effects i want. I worked on the trees in the background — now need to mute the background of the trees in the distance. Have also been working to try to get the top of the boulders/hillside look like the top instead of looking like the side. Not there yet. The blue paint at the bottom of the painting is going to be part of the reflections — that’s not there yet, either!
Finishing up Sunrise
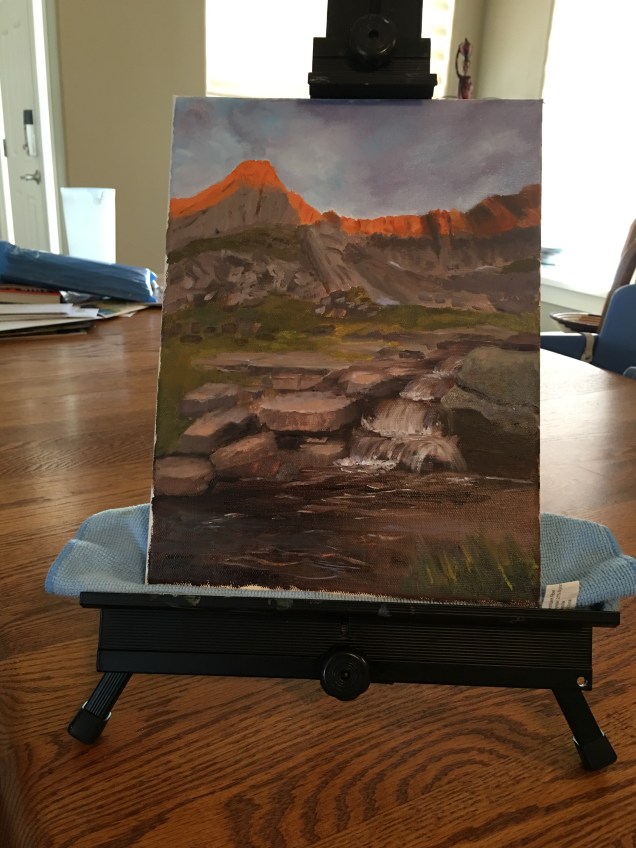
This week i worked on several areas of the Norwegian sunrise painting . I repainted the sky because several areas didn’t quite blend as i wanted them to. I’m happier with the result. Then i went back to work on the large rocks in the foreground. So added shadows in several areas and then some highlights on the tops of rocks, to reflect some of the colors of the sky and the sunrise. Also added a few of these colors to the reflections in the water. I reworked some of the rocks on the left side of the painting. then teacher suggested i add some more grass to break up those rocks some more. I couldn’t do this in class because the rocks were too wet. So I’ll do that later this week, and then i think I’ll call this one done.
Where’s that big tree???
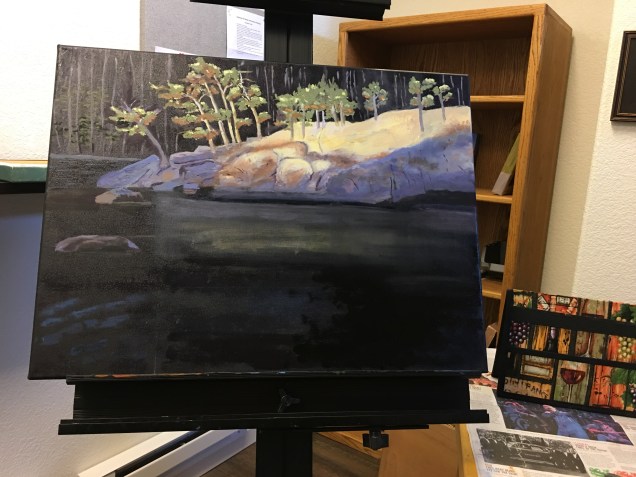
This is an update on my “black canvas” painting. Over the past couple of weeks, mostly at home, I’ve been working on the hillside rocks, trying to get a 3-dimensional feel and get the cracks in the rocks to look sort of real. In class last week teacher suggested that in order to better do that rock hillside, i take out the big tree that used to be on the right side of the painting. So I did — easy come, easy go, i guess. I’ll probably paint it back in later on. In the meantime i added a couple of small trees to the top right end of the hillside. Also began working on the background trees. Also began adding highlights and shadows to the foreground trees. I had planned yesterday to begin working on the water reflections. But i forgot that a few days ago i added a layer of black paint to the bottom half of the painting; and it’s not dry yet. So, later this week…..
Sunrise progress
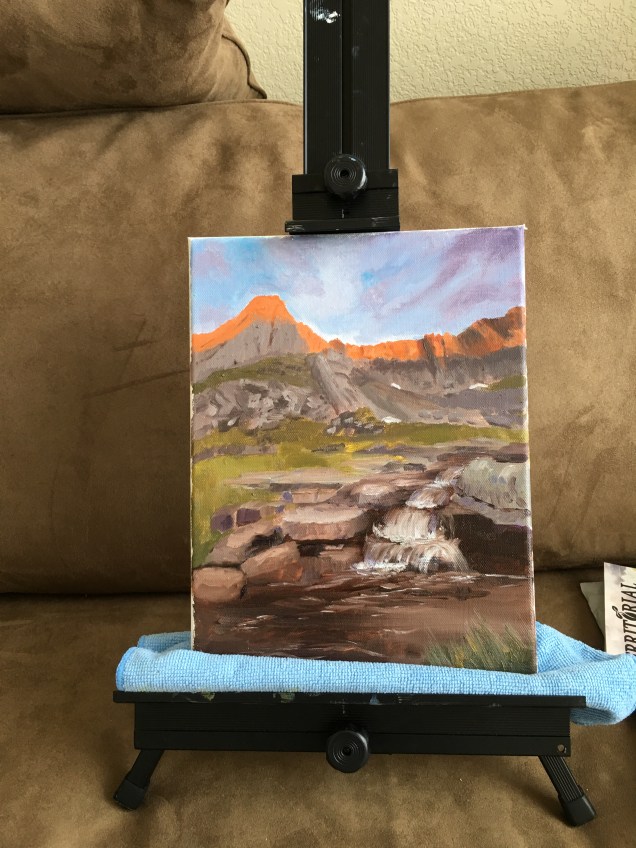
I worked in class this week and last on the rocks on the lower half of the painting. Today i took on the water. Teacher showed me a neat way to paint a waterfall — first paint the dark rocks underneath and then, using whatever color the water is to be (i used white mixed with a mid-purple hue), paint the water. This i did with a stiff bristle brush using an upward motion– i.e., from bottom to top of each “fall”. Then painted the foam, using a small flat brush. Teacher suggested i try to give the feel of a pool (towards the bottom of the painting) by painting the “water” very dark brown/purple, and then use light-colored thin strokes to indicate movement of the water. (Sorry if that explanation is confusing.). Added grass in the lower right corner.